Quickly Creating My Lite App
We provide CLI tools to help you quickly create projects through command line.
We recommend using React for development. The platform has provided multiple React components to reduce your development costs. Of course, you can also choose other frameworks for development.
Prerequisites
Use Node.js 18.0 and above. Check your Node.js version by executing the following command in the terminal:
node --version
Creating Projects
Installing CLI Tools Globally
The CLI tool only needs to be installed once. You can then quickly create Lite App scaffolding through command line. Execute the following command to install the CLI tool:
npm install @ty-sdk/tingyun-cli -g
When the CLI tool installation is complete, the version number will be displayed indicating successful installation. Execute the following command to check the installation version:
tingyun-cli -v
Creating Lite App Scaffolding
When publishing a Lite App, you need to specify the runtime environment (i.e., the Guanyun Platform runtime environment address). You can specify the runtime environment when creating the scaffolding for the first time, or specify it when publishing. Please choose one of the following creation methods (we recommend using the first one):
1. Creating Scaffolding and Specifying Runtime Environment
Execute the following command:
tingyun-cli create <my_liteapp_id> -apiRoot <https://xxxx.tingyun.com>
Note
- Please replace
<my_liteapp_id>with your Lite App identifier. This name will also be used as the project file name and can be modified in the project.
<my_liteapp_id>naming convention: Only English characters, numbers, underscores, and hyphens are allowed, with a maximum length of 30 characters.
- Please replace
<https://xxxx.tingyun.com>with your Guanyun Platform runtime environment address (after logging into the Guanyun Platform, you can copy the root URL of the page from the browser's address bar), example:<https://xxxxx.tingyun.com>or<http://10.128.x.x:8085>Note that you can also modify the runtime environment address in the project's
package.jsonfile.
2. Creating Scaffolding
Execute the following command to create Lite App scaffolding:
tingyun-cli create <my_liteapp_id>
Note
Please replace
<my_liteapp_id>with your Lite App identifier. This name will also be used as the project file name and can be modified in the project.
<my_liteapp_id>naming convention: Only English characters, numbers, underscores, and hyphens are allowed, with a maximum length of 30 characters.
Installing Dependencies
First, enter the project directory:
cd <my_liteapp_id>
In the project directory, execute the following command to install dependencies:
pnpm install
or
npm install
Debugging Lite App
Execute the following command to start the application locally for debugging:
npm run start
Note
The build process is expected to take about one minute.
If your Lite App integrates data from non-Tingyun platforms, you need to upload and verify the Lite App's token information. Please see Permission Control for more details.
Configuring Lite App Basic Information
Before publishing a Lite App, you need to set basic information such as the application name and version number.
Icon
If not specified, the Lite App's default icon will be used. If you need to specify an icon, please replace the logo.svg file in the project's public folder.
- Only SVG image format is supported, recommended image size is 90*90 pixels
Basic Information
You can set the Lite App's basic information in the project's package.json file.
-
Lite App Name (cnName)
-
Lite App name in Chinese environment, required, defaults to
My Lite App -
Can only input Chinese, English, numbers, supports underscores, spaces (in the middle), hyphens, cannot contain other special characters
-
Maximum input 30 characters
-
-
Lite App Identifier (name)
-
Unique identifier for the Lite App, identifiers for the same application cannot be duplicated, required, defaults to the name specified when creating the scaffolding
-
Can only input English, numbers, supports underscores, hyphens
-
Maximum input 30 characters
-
-
Version Number (version)
-
Required
-
Can only input English, numbers, supports underscores, hyphens, decimal points, cannot contain other special characters
-
Maximum input 30 characters
-
-
Description Information (description)
-
Lite App description information, optional
-
Maximum input 100 characters
-
-
Lite App Name in English Environment (enName)
-
Lite App name in English environment, optional, defaults to Lite App identifier
-
Can only input Chinese, English, numbers, supports underscores, spaces (in the middle), hyphens, cannot contain other special characters
-
Maximum input 30 characters
-
-
Runtime Environment (apiRoot)
- Guanyun Platform runtime environment, i.e., Guanyun report address, required
- Example:
<https://xxxxx.tingyun.com>or<http://10.128.x.x:8085>
Publishing Applications
After debugging is complete, you can choose one of the following ways to upload your Lite App to the Guanyun report:
1. Using Report Interface Upload
Generating ZIP File
npm run build
Note
The build process is expected to take about one minute.
You can find the ZIP file named after the application identifier in the project's root directory, example:
[my_liteapp_id].zip
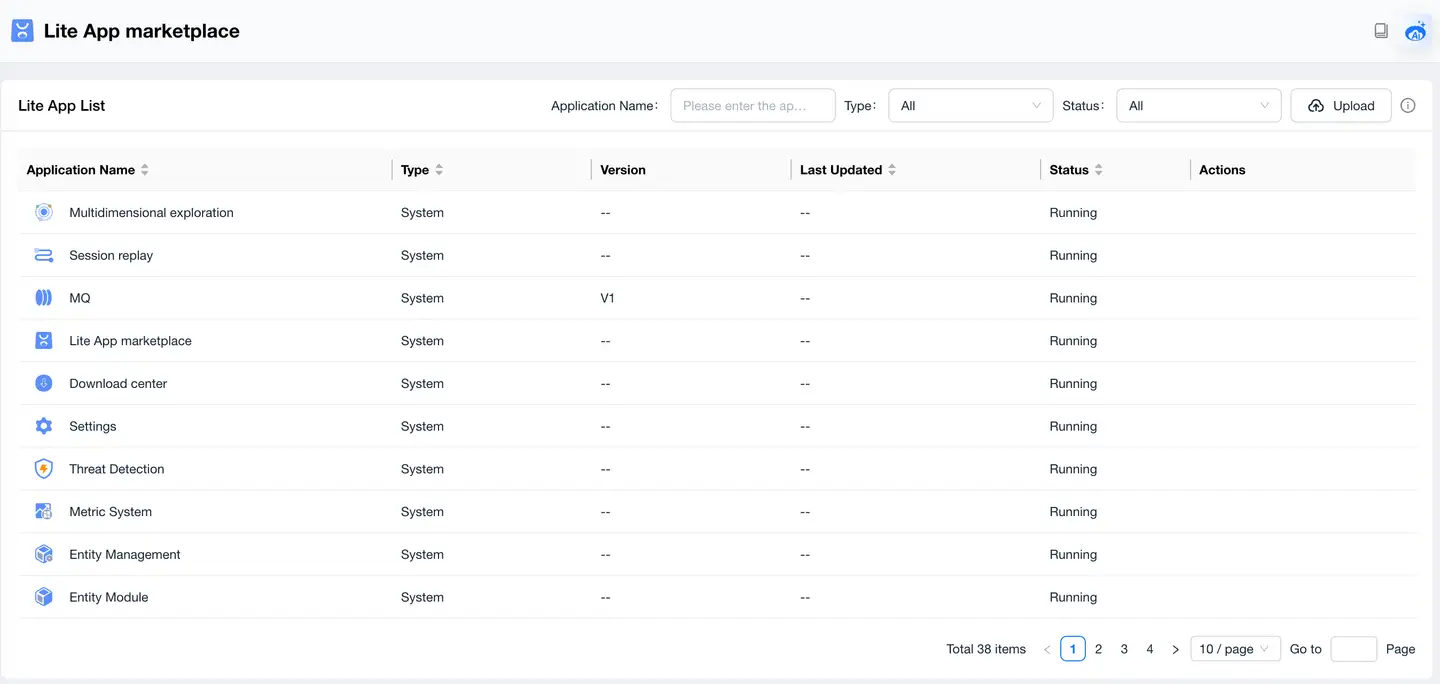
Uploading My Lite App
After logging into the platform, find Lite App Marketplace, click Upload above the list to upload your Lite App, please ensure you upload the generated ZIP file.
2. Using Command Line Upload
npm run deploy
Note
The build process is expected to take about one minute.
You can find the ZIP file named after the application identifier in the project's root directory, example:
[my_liteapp_id].zip
Verification
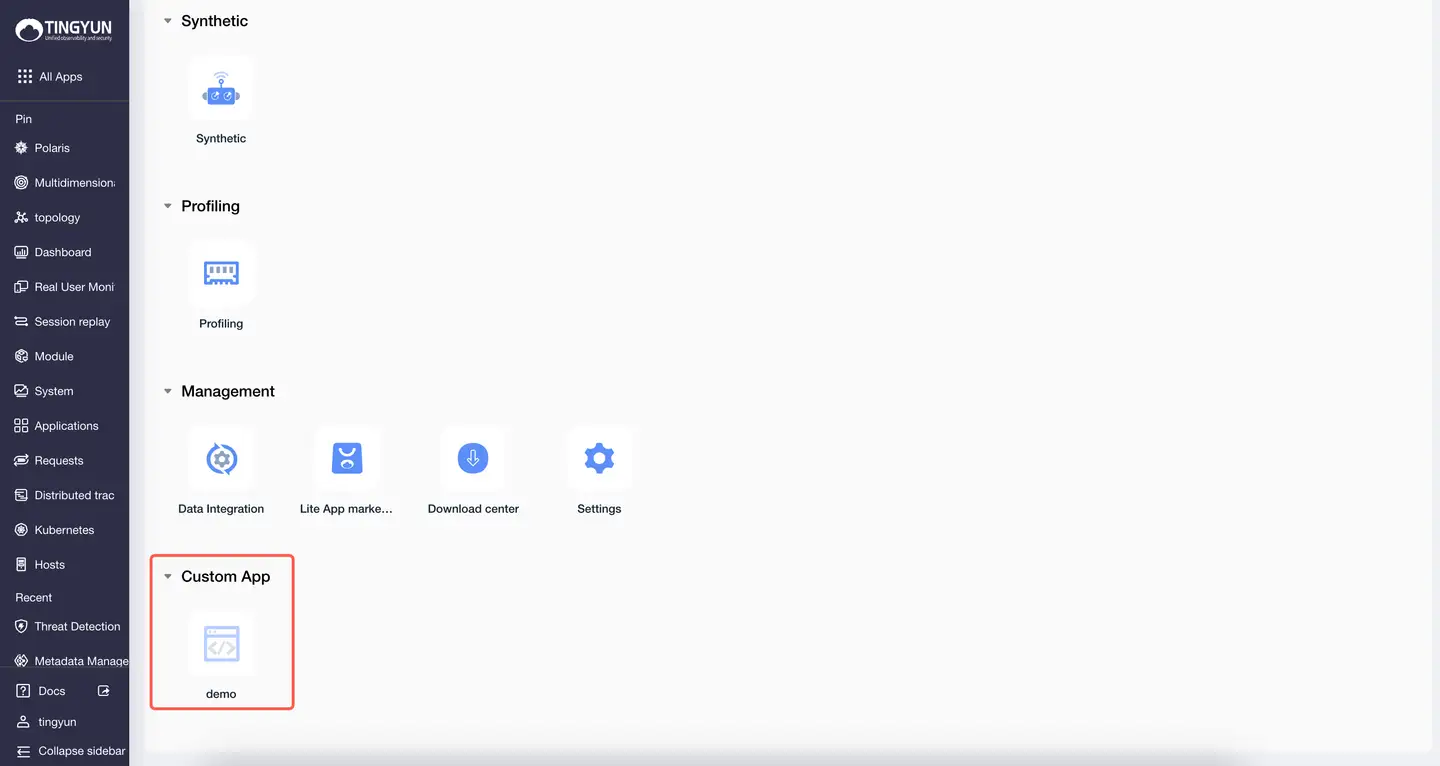
My Exclusive in the console is your personally customized space, where all your custom Lite Apps are placed. Click the application icon to start data exploration.
Permission Control
If your Lite App integrates data from non-Tingyun platforms, you need to upload and verify the Lite App's token information. This information can be retained even after the Lite App is deleted.
tingyunStateClient.setAppCredential(key,value);
How to Use Tingyun React Component Library
By default, the Tingyun React component library is already integrated in the scaffolding, and you can start using it directly. If you need to use these components in other projects, please install and import the TY SDK.
Installing Components
You can choose one of the following ways to install the Tingyun React component library TY SDK:
1. npm Installation
To use TY SDK components, you can install them through the npm package manager. Please execute the following command:
npm install @ty-sdk/components --save
This will install the TY SDK components and add them to your project dependencies.
2. yarn Installation
You can also use the yarn package manager to install TY SDK components. Please execute the following command:
yarn add @ty-sdk/components
This will install TY SDK components to your project using yarn.
3. pnpm Installation
If you use pnpm as your package manager, you can execute the following command to install TY SDK components:
pnpm install @ty-sdk/components --save
This will install the TY SDK components and add them to your project dependencies.
Importing Components
After installation, import specific components and use them in your project through the following method:
import { specific component } from "@ty-sdk/components";
Replace "specific component" with the component name you need, then you can use it in your project.
Component List
- Table (TyTable)
- Tooltip (TyTooltip)
- Time Component (TimeRangePicker)
- Empty State (TyEmpty)
Usage Example
import { TyTable } from '@ty-sdk/components';

export default () => {
  const columns: any[] = [
    {
      title: 'Name',
      dataIndex: 'name',
      key: 'name',
      width: 200,
      align: 'left',
    },
    {
      title: 'Age',
      dataIndex: 'age',
      key: 'age',
      width: 100,
      className: 'aaa',
      sorter: (a: any, b: any) => a.type - b.type,
    },
    {
      title: 'Address',
      dataIndex: 'address',
      key: 'address',
      width: 300,
      ellipsis: true,
    },
    {
      title: 'Phone',
      dataIndex: 'phone',
      key: 'phone',
      fixed: 'right',
      align: 'center',
      width: 100,
      sorter: (a: any, b: any) => a.phone - b.phone,
    },
    {
      title: 'Phone',
      dataIndex: 'phone2',
      key: 'phone2',
      fixed: 'right',
    },
  ];

  const data = [
    {
      key: '1',
      name: 'John Doe',
      age: 32,
      address: '123 Street, City',
      phone: '1588553336',
      phone2: '1588553336',
    },
    {
      key: '2',
      name: 'Jane Smith',
      age: 28,
      address: '456 Road, Town',
      phone: '1588553336',
      phone2: '1588553336',
    },
    {
      key: '3',
      name: 'Jane Smith',
      age: 28,
      address: '456 Road, Town',
      phone: '1588553336',
      phone2: '1588553336',
    },
    {
      key: '4',
      name: 'Jane Smith',
      age: 28,
      address: '456 Road, Town',
      phone: '1588553336',
      phone2: '1588553336',
    },
  ];

  return <TyTable columns={columns} dataSource={data} isColumnResize={true} />;
};